Node.js
nodejs.org
1. https://nodejs.org/en
접속하여 node.js 설치합니다.

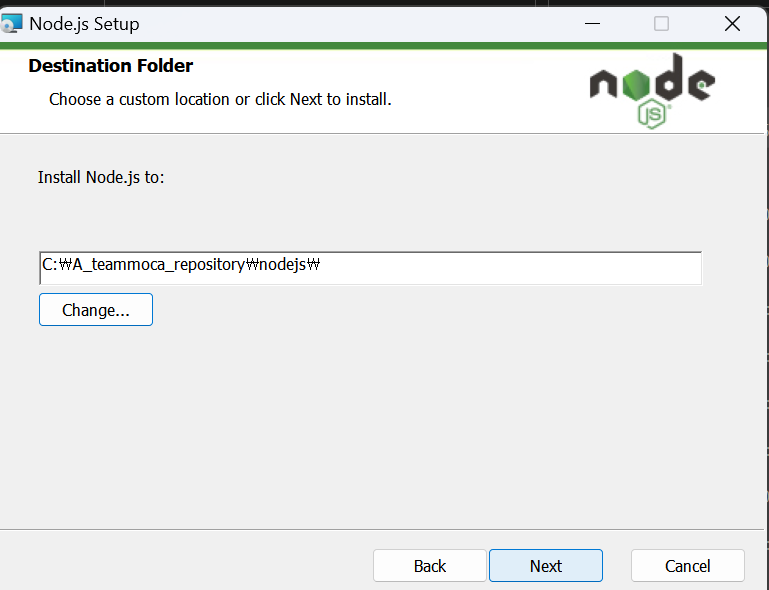
2. 설치할 경로를 지정합니다.
3. https://code.visualstudio.com/ 에 접속하여 visualstudio를 설치합니다.
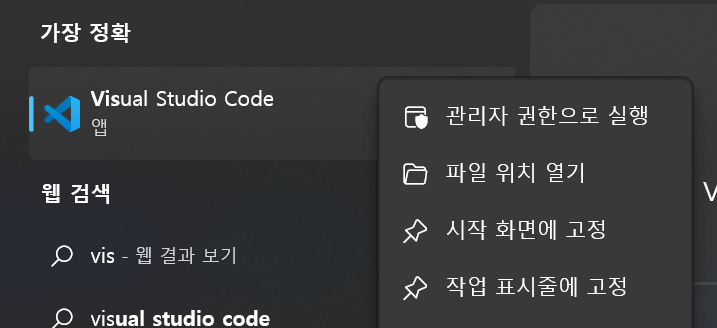
4. 윈도우 실행창에서 Visual Studio Code를 '관리자 권한으로 실행' 으로 실행시켜줍니다.
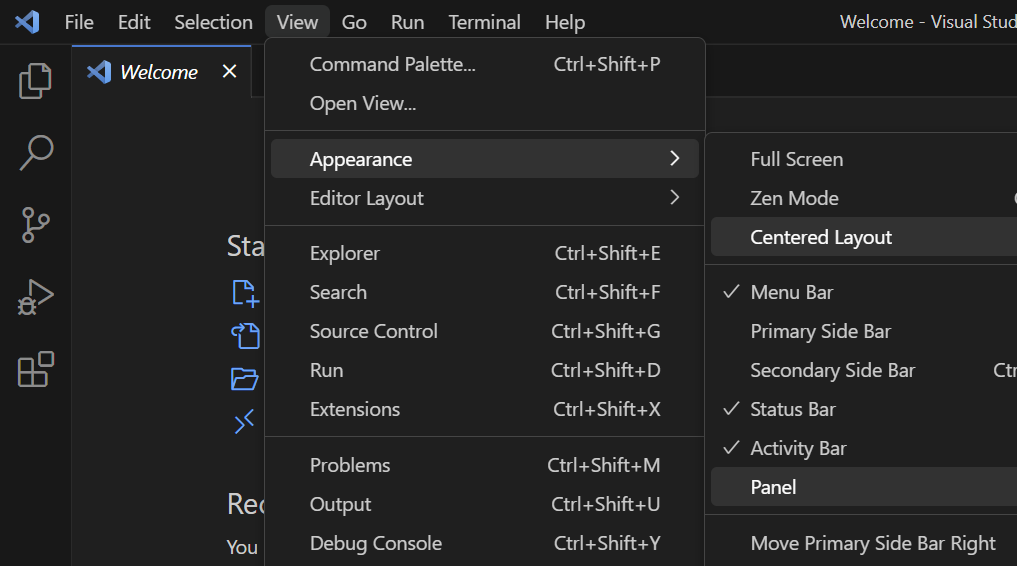
5. View - Appearance - Panel클릭해서 터미널창을 활성화 시킵니다.
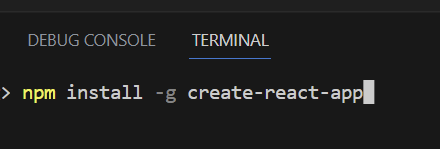
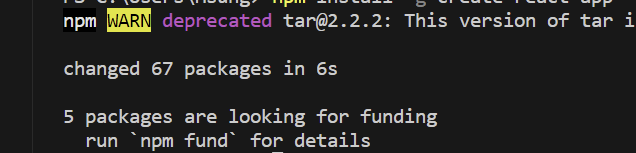
6. 터미널에서 명령어 npm install -g create-react-app 를 입력하여 react를 설치합니다.
7. react 설치완료되었을 경우 Terminal창 화면
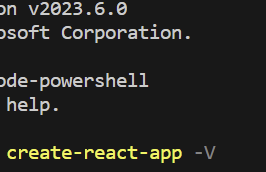
8. 터미널에서 명령어 create-react-app -V를 입력해 react가 정상적으로 설치되었다면 버전을 확인할 수 있습니다.
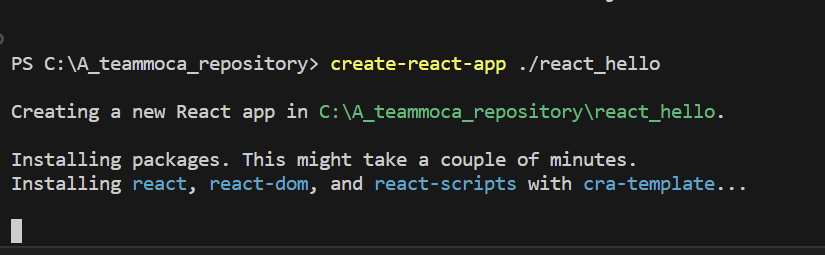
9. 터미널에서 react 프로젝트 구축할 폴더(A_teammoca_repository)로 들어간 다음 명령어 create-react-app ./react폴더명 을 입력합니다.
예시) create-react-app ./react_hello
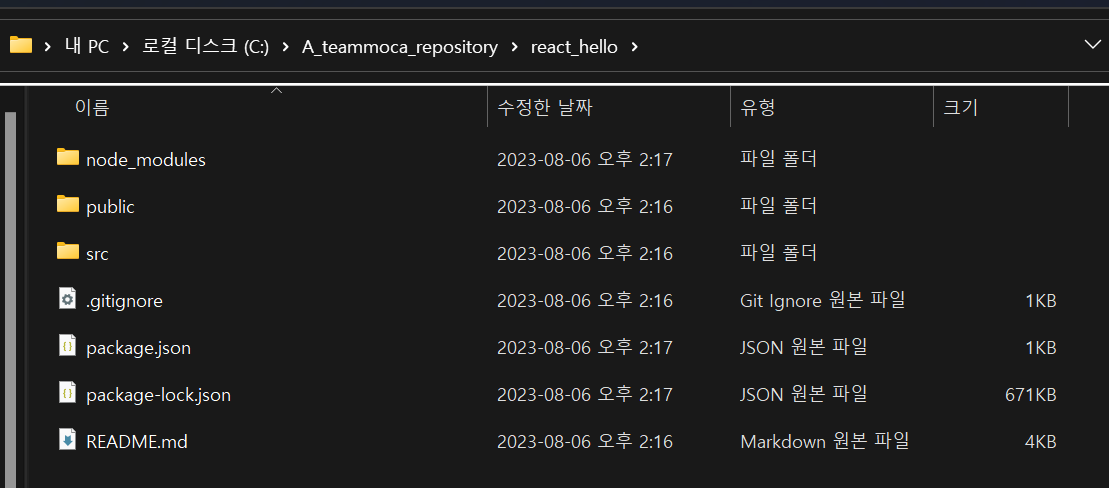
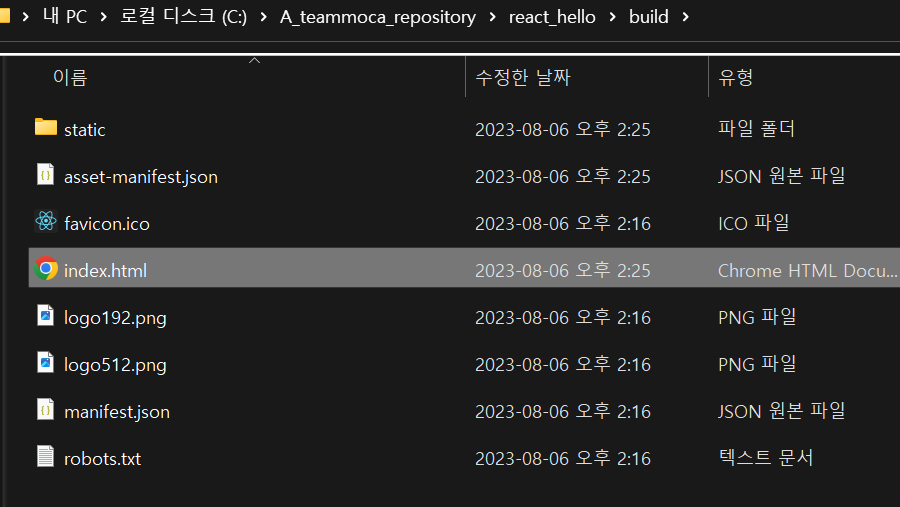
10. 프로젝트 환경 구축이 완료되었다면 탐색기를 실행시켜 해당경로로 들어가서 확인할 수 있습니다.
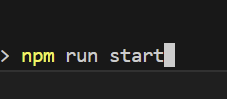
11. 터미널에서 해당프로젝트 폴더로 들어간 다음 명령어 npm run start 를 입력하면 프로젝트가 로컬에서 실행됩니다.
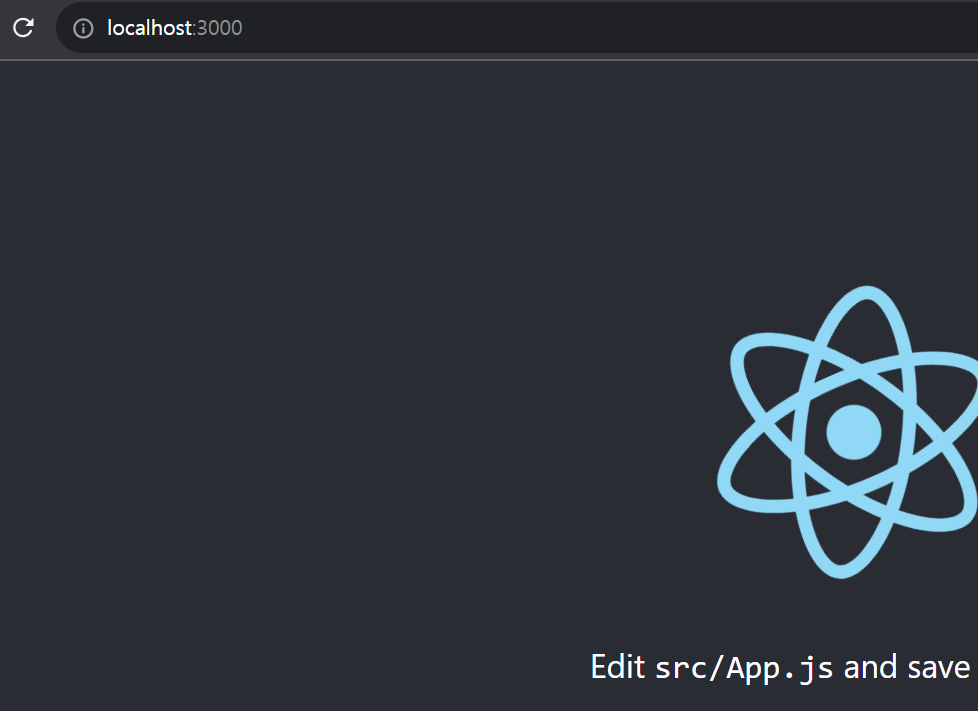
12. 로컬환경에서 react 프로젝트 실행된 모습
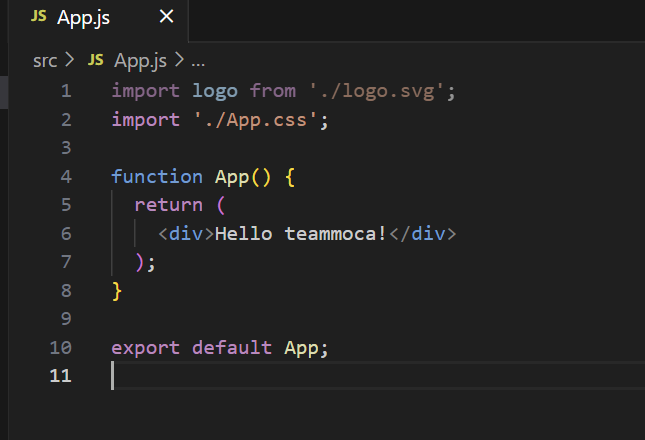
13. vscode에서 src/App.js 를 열어서 현재 실행된화면

14. 기존에 있던 App() 함수내부를 지우고 Hello teammoca!를 입력해보았습니다.
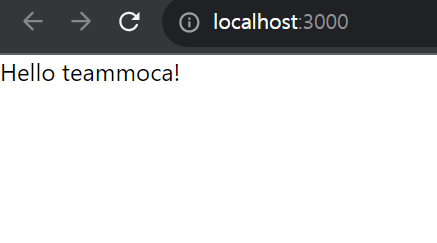
15. 변경된 화면
16. 명령어 npm run build 를 입력하면 프로젝트에 build 폴더가 생성됩니다.

17. build 폴더 생성된 화면
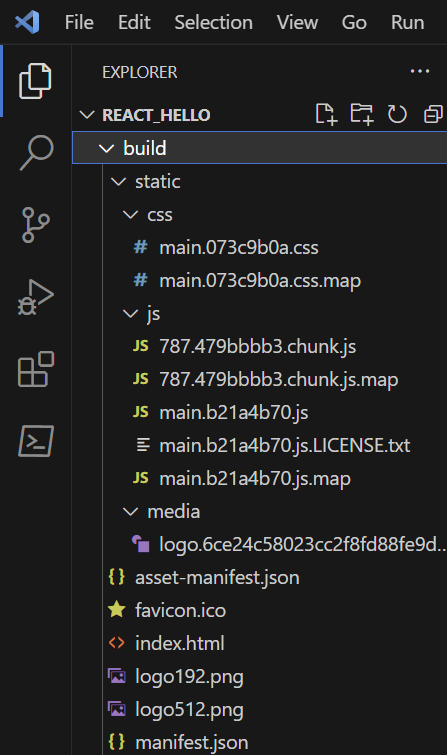
18. build폴더내에 index.html이 들어있다면 정상적으로 build된걸 확인할 수 있습니다.
'IT개발' 카테고리의 다른 글
| AWS EC2 인스턴스 우분투(Ubuntu 22.04) 서버 무료(프리티어)로 개설하기 (0) | 2023.08.08 |
|---|---|
| AWS 무료회원가입하기 (0) | 2023.08.08 |
| Array정복 in javascript (0) | 2023.07.31 |
| github를 사용하는 git 기본사용법 eclipse사용 spring-boot 예제사용 (0) | 2023.07.20 |
| vscode로 github연동하여 spring-boot프로젝트가져오기 (0) | 2023.07.19 |


